Implementing GitOps practices with Argo CD
Date: 2026-01-17
The source code for this lab exercise is available on GitHub.
GitOps is the practice of delivering infrastructure and applications in a declarative manner based on a single, authoritative source of truth. Oftentimes, the source of truth is defined within a Git repository, hence the term GitOps, though recent developments have started to decouple Git from GitOps with the source of truth defined in OCI artifacts instead in what is known as “Git-less GitOps”. Closely related is the concept of continuous delivery (CD) which is implemented in GitOps by continuously reconciling the actual state of the infrastructure and applications to match the desired configuration stored in the latest Git commit.
Most GitOps implementations revolve around 2 CNCF Graduated projects:
- Flux: originally a WeaveWorks project; now spearheaded by ControlPlane
- Argo CD: actively developed on by startups and enterprise IT vendors such as Akuity and Red Hat
This lab demonstrates the deployment of a sample podinfo application with GitOps using Argo CD deployed via the operator.
Lab: Deploying an application with GitOps using Argo CD
Architecture
The high-level architecture for this lab is depicted below with the following components, each residing in a separate namespace:
- Argo CD Operator
- Argo CD instance
- podinfo application
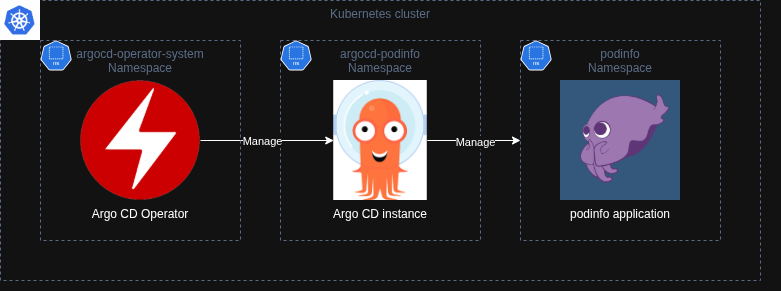
The Argo CD Operator manages the lifecycle of the Argo CD instance via the ArgoCD custom resource. Meanwhile, the Argo CD instance manages the resources in the podinfo application namespace via GitOps.
Prerequisites
Familiarity with Linux and Kubernetes is assumed.
Check out the following courses for a quick refresher:
Setup
The lab instructions were validated against a VM with the following specifications.
| OS | vCPU | Memory (GiB) | System Disk (GiB) |
|---|---|---|---|
| Ubuntu 24.04 LTS | 4 |
8 |
64 |
Install required packages and tools
Ensure the following software is installed. Follow the official installation instructions if in doubt.
- Docker / Podman
jq- mikefarah/yq
kubectl1.35- KinD
make- Go 1.25
Clone the project repository
Clone the project repository and make it your working directory.
git clone https://github.com/DonaldKellett/argocd-gitops-demo.git
pushd argocd-gitops-demo/
Create a cluster with KinD
Create a Kubernetes cluster named argocd-gitops-demo with KinD. The configuration file to create the cluster is provided as kind-cluster.yaml.
kind create cluster --config kind-cluster.yaml
Wait a few moments for the command to complete, then wait for the node to become ready.
kubectl wait \
    --for=condition=Ready \
    nodes \
    --all \
    --timeout=300s
Sample output:
node/argocd-gitops-demo-control-plane condition met
Deploy the Argo CD Operator
Reference: Manual Installation using kustomize - Argo CD Operator
The Argo CD Operator manages Argo CD instances as custom Kubernetes resources. It simplifies the deployment, management and operation of multiple Argo CD instances in a multi-tenant Kubernetes cluster through separation of concerns and principle of least privilege (PoLP).
Learn more about the Kubernetes operator pattern: Operator pattern | Kubernetes
Clone the GitHub repository argoproj-labs/argocd-operator and make it your working directory. Use version v0.16.0 of the Argo CD Operator.
pushd $HOME
git clone \
    -b v0.16.0 \
    https://github.com/argoproj-labs/argocd-operator.git
pushd argocd-operator/
The Argo CD Operator defaults to the argocd-operator-system namespace if not specified. Create it now.
kubectl create ns argocd-operator-system
Use Make to build the Kustomize manifests and deploy the operator.
make deploy
Sample output - only the last few lines are shown for brevity:
(output elided)
...
configmap/argocd-operator-manager-config serverside-applied
service/argocd-operator-controller-manager-metrics-service serverside-applied
service/argocd-operator-webhook-service serverside-applied
deployment.apps/argocd-operator-controller-manager serverside-applied
Wait for the operator to become ready.
kubectl -n argocd-operator-system wait \
    --for=condition=Available \
    deployments.apps \
    -l control-plane=argocd-operator \
    --timeout=300s
Sample output:
deployment.apps/argocd-operator-controller-manager condition met
Deploy an Argo CD instance for podinfo
Reference: Basics - Argo CD Operator
The Argo CD Operator watches for resources on all namespaces by default.
Deploy an Argo CD instance for our podinfo application. Our application should reside in the podinfo namespace. Meanwhile, the Argo CD instance managing this application should reside in a separate namespace argocd-podinfo. Placing the application and its managing Argo CD instance in separate namespaces ensures any changes to the application Git repository are scoped to the application namespace and do not affect the Argo CD instance itself.
Switch back to our project directory.
popd
popd
Create the namespace argocd-podinfo.
kubectl create ns argocd-podinfo
The ArgoCD custom resource is provided as manifests/argocd.yaml. Use it to create our Argo CD instance.
kubectl create -f manifests/argocd.yaml
Wait for the Argo CD instance to be available.
kubectl -n argocd-podinfo wait \
    --for=jsonpath='{.status.phase}'=Available \
    argocds.argoproj.io \
    argocd-podinfo \
    --timeout=300s
Sample output:
argocd.argoproj.io/argocd-podinfo condition met
Log in to the Argo CD web console
Observe the argocd-podinfo-server service is available.
kubectl -n argocd-podinfo get svc argocd-podinfo-server
Sample output:
NAME                    TYPE        CLUSTER-IP     EXTERNAL-IP   PORT(S)          AGE
argocd-podinfo-server   ClusterIP   10.96.76.127   <none>        80/TCP,443/TCP   5m10s
Port forward the service at port 8443:443 in a new terminal tab or window and keep the command running.
kubectl -n argocd-podinfo port-forward svc/argocd-podinfo-server 8443:443
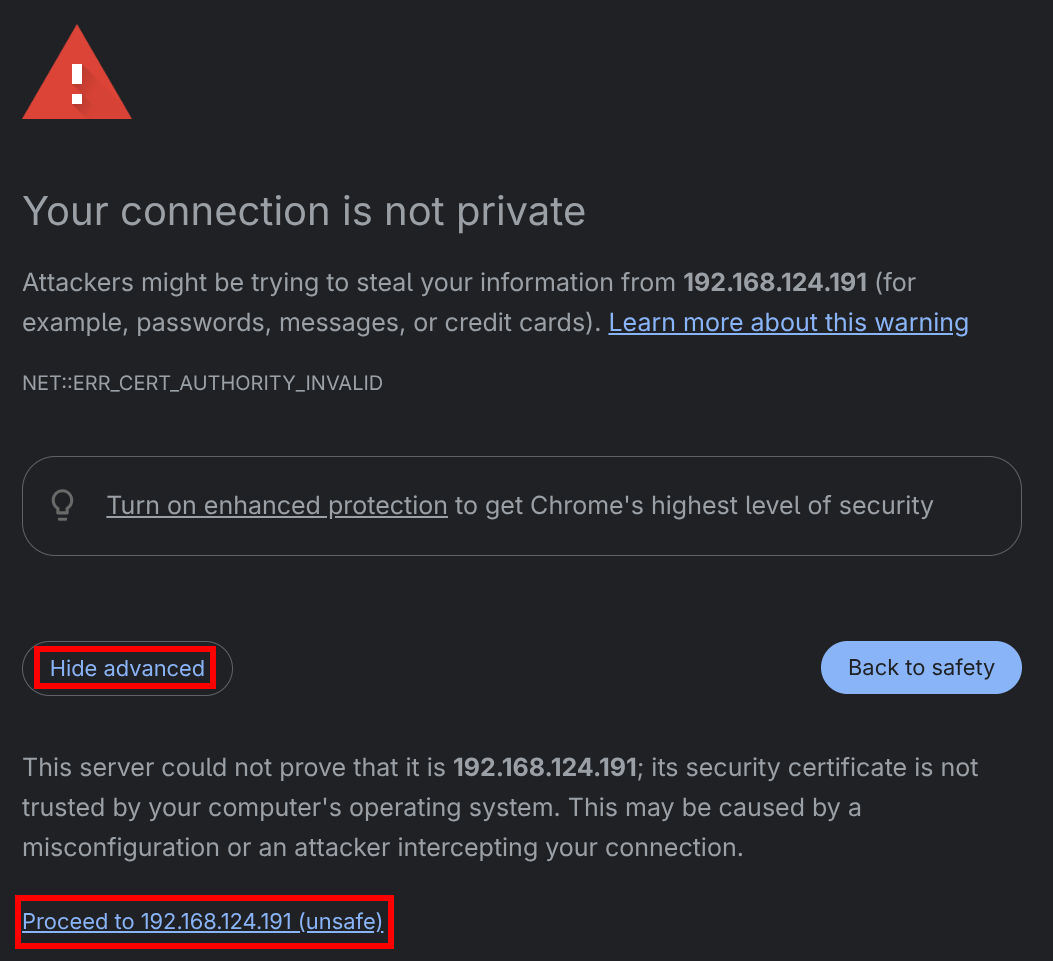
Open your browser at https://localhost:8443/. You will receive a certificate warning since the Argo CD instance uses an untrusted certificate signed by the internal CA managed by Argo CD Operator by default. Feel free to bypass this warning to proceed to the login screen. Replacing the untrusted certificate with a custom trusted certificate is outside the scope of this lab.
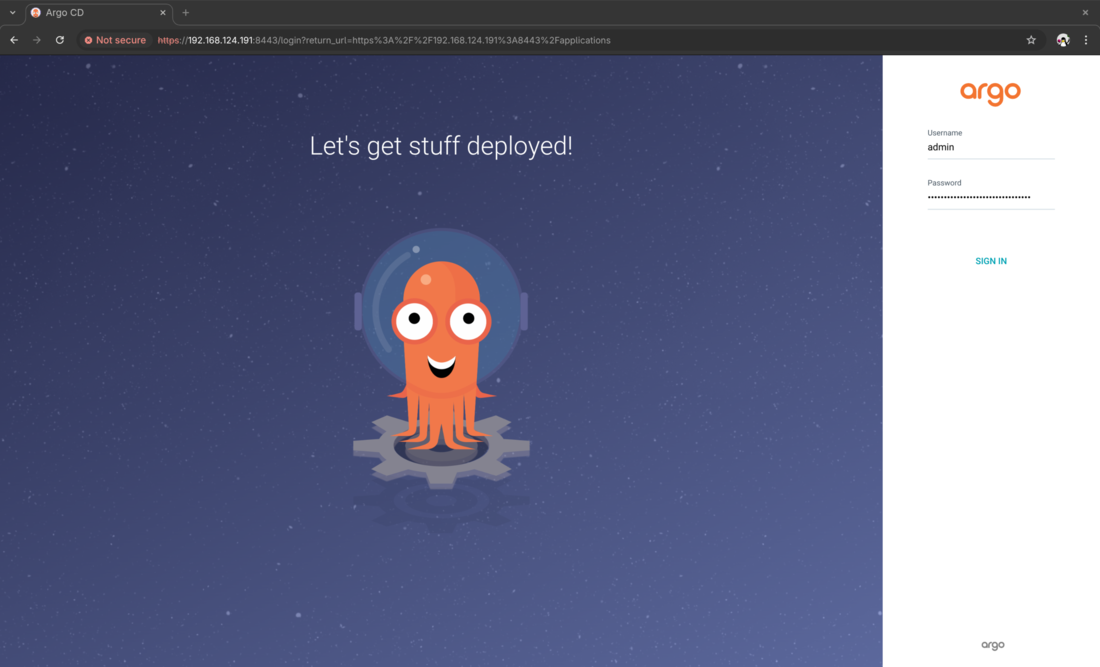
The default username is admin and the default password is stored in the key admin.password in the secret argocd-podinfo-cluster. Extract the admin password from the provided secret.
kubectl -n argocd-podinfo get secret \
    argocd-podinfo-cluster \
    -o json | \
    jq '.data."admin.password"' --raw-output | \
    base64 -d -; echo
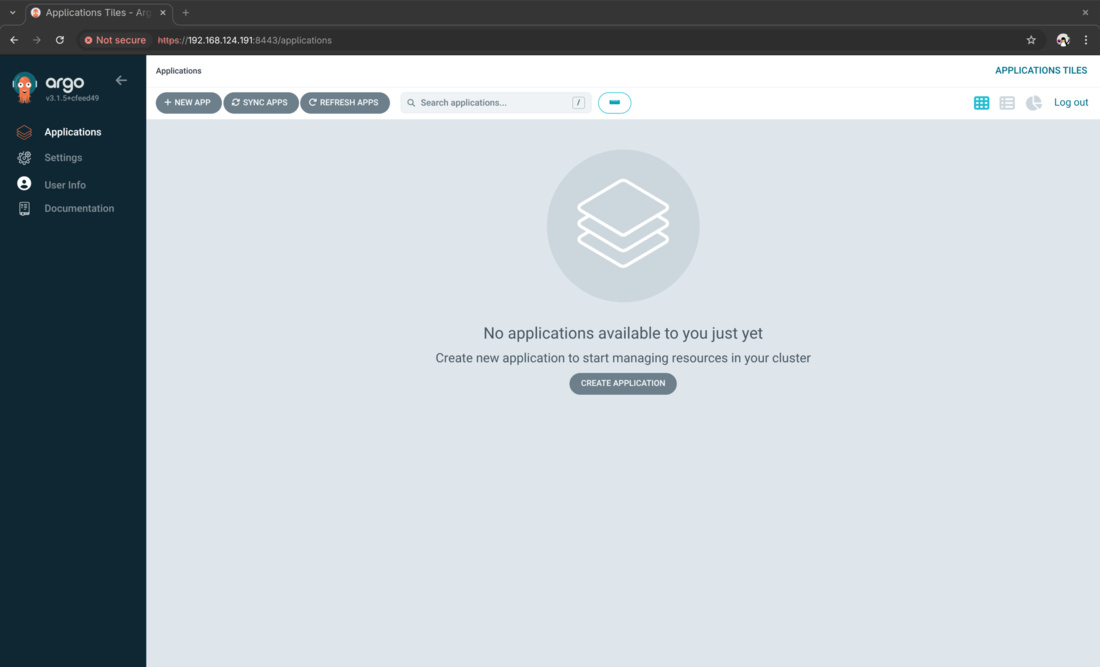
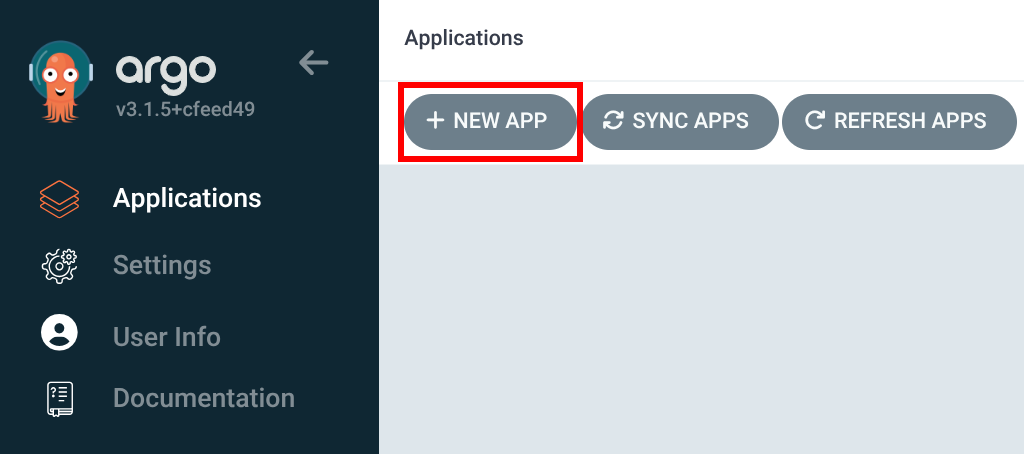
On successful login, you should see the “Applications” view of Argo CD.
Create and label the podinfo namespace
Reference: Deploy Resources to Different Namespaces - Argo CD Operator
Create the podinfo namespace for our application.
kubectl create ns podinfo
Apply the label argocd.argoproj.io/managed-by=argocd-podinfo to the podinfo namespace. This instructs the Argo CD instance in the argocd-podinfo namespace to manage the podinfo namespace and all resources within it.
kubectl label ns podinfo argocd.argoproj.io/managed-by=argocd-podinfo
Deploy the podinfo application with Kustomize
In the Argo CD web console, click on “New App” to the top left of the page.
Fill in the details.
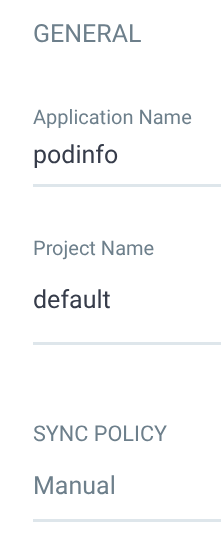
- Under the “General” section, enter
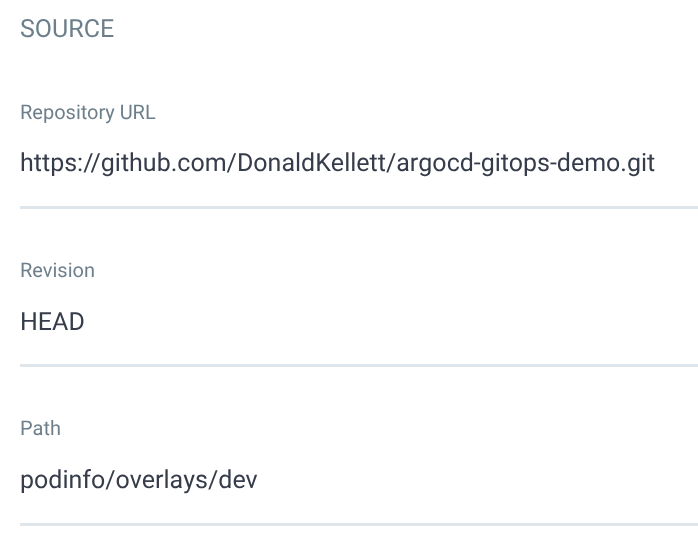
podinfofor the name and select thedefaultproject. Leave the sync policy at “Manual” and leave the remaining options at their defaults - Under the “Source” section, enter the following details:
- Repository URL: https://github.com/DonaldKellett/argocd-gitops-demo.git
- Revision:
HEAD - Path:
podinfo/overlays/dev
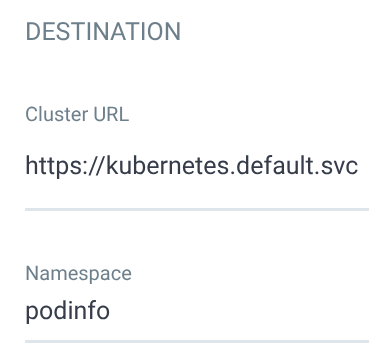
- Under the “Destination” section, fill in
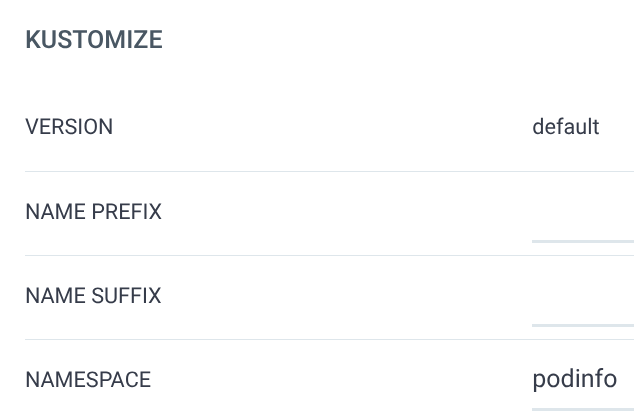
https://kubernetes.default.svcfor the cluster URL andpodinfofor the namespace - Under the “Kustomize” section, enter
podinfofor the namespace and leave the remaining options at their defaults
Click “Create” when ready.
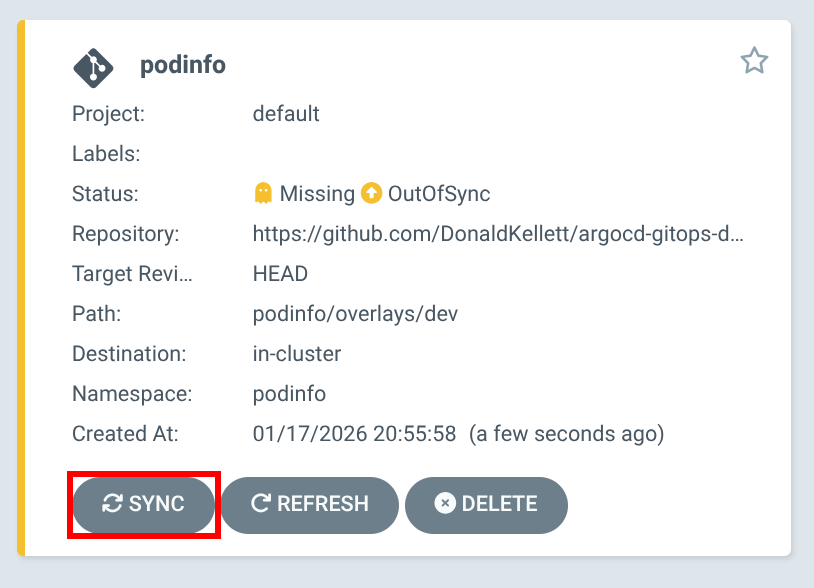
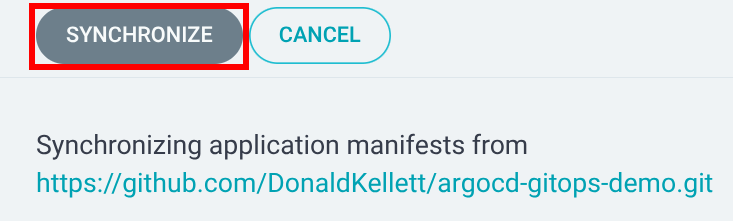
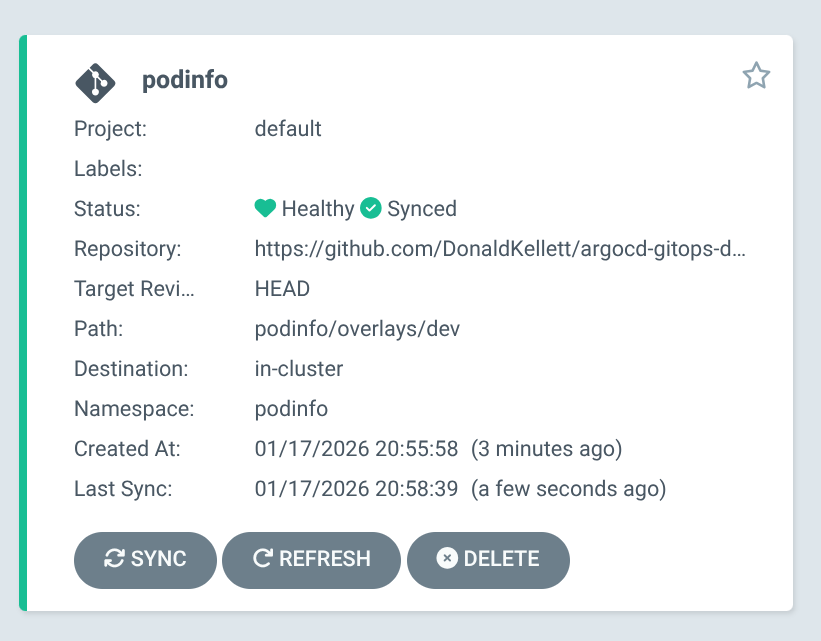
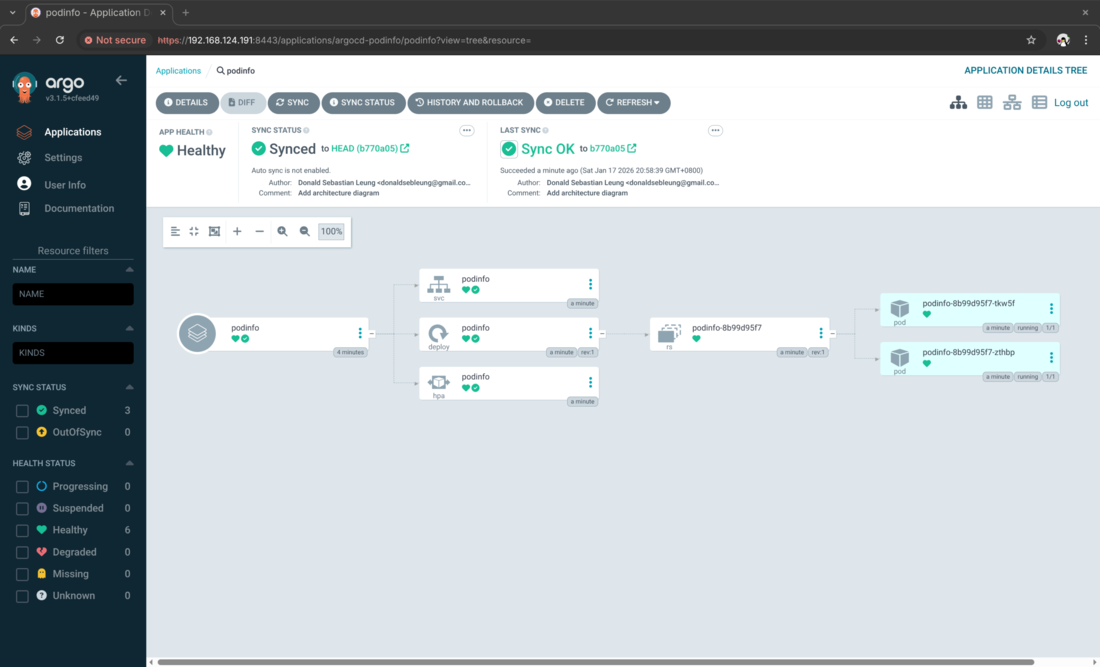
The podinfo app is initially out of sync. Click “Sync”, then accept the default and click “Synchronize”.
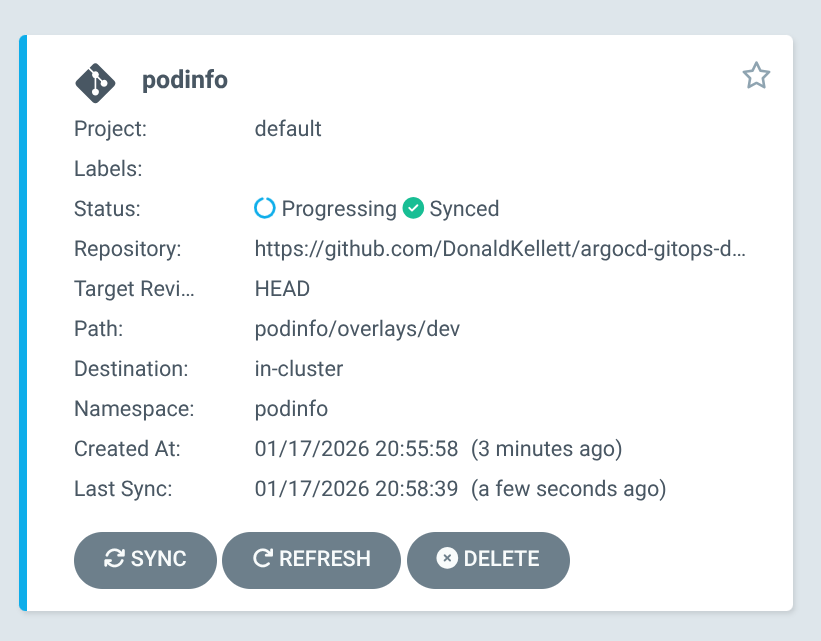
The application shows as “Progressing” and enters a “Healthy” state within a few minutes.
Test the podinfo application
List the services in the podinfo namespace.
kubectl -n podinfo get svc
Sample output:
NAME      TYPE        CLUSTER-IP    EXTERNAL-IP   PORT(S)             AGE
podinfo   ClusterIP   10.96.1.206   <none>        9898/TCP,9999/TCP   18m
In yet another new terminal tab or window, port forward the service at port 9898/tcp and keep it running.
kubectl -n podinfo port-forward svc/podinfo 9898:9898
Point your browser to http://localhost:9898/ and observe that the podinfo application is ready and serving requests.
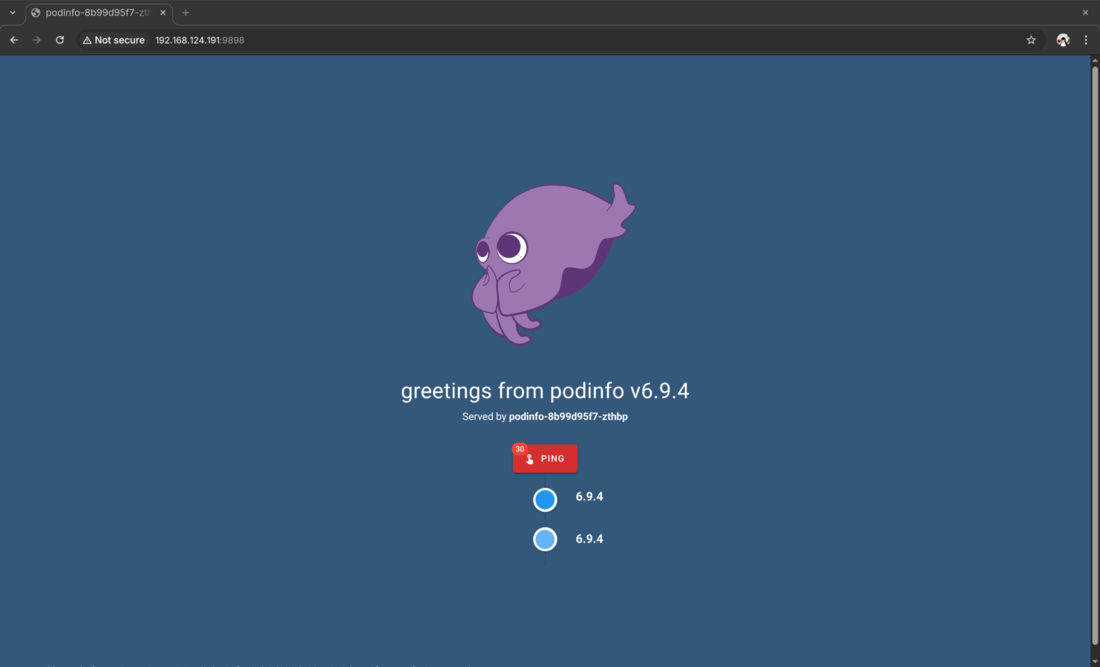
Congratulations, you have successfully deployed an app with GitOps using Argo CD!
Demo
A command-line walkthrough of this demo is available on Asciinema.
Concluding remarks and going further
We saw in this lab how to deploy, manage and operate Argo CD instances and applications with the Argo CD Operator using mostly default settings. However, the default configuration options are not production ready and further configuration is required to secure and scale Argo CD reliably and effectively in the enterprise.
Dive deeper into Argo CD and related projects with the following courses:
- LFS256: DevOps and Workflow Management with Argo covers Argo CD as well as the other projects under the Argo umbrella
- Red Hat OpenShift Administration III: Scaling Deployments in the Enterprise (DO380) - Ver. 4.14 has a chapter on OpenShift GitOps, an enterprise distribution of Argo CD available in OpenShift environments
I hope you enjoyed this article and stay tuned for updates ;-)
Subscribe:
![]()
![]()
![[Valid RSS]](/assets/images/valid-rss-rogers.png)
![[Valid Atom 1.0]](/assets/images/valid-atom.png)